

Define the model logic using AnyLogic Rail Library blocks
- Add the following blocks to the flowchart:
 TrainSource,
 TrainMoveTo,
 TrainDecouple,
 TrainCouple,
 TrainDispose. We will use them to define the train logic.
 - Start the flowchart with the train generating
TrainSource block, then add
TrainMoveTo block placing it close to the first block so that they connect automatically. Proceed adding other blocks to the flowchart as shown on the figure below.

- Specify parameters for the
TrainSource and
TrainMoveTo blocks.
We will start with specifying trains to appear at the
TrainSource: stopLineEntry track point every 15 minutes.
Interarrival time: 15 minutes
# of cars (including loco): 11
Position on track: stopLineEntry
Once generated, every train will head to the stopLineArrival track point where it will decelerate and stop. TrainMoveTo
Route is: Calculated automatically from current to target track
Target is: A given position on track
Position on track: stopLineArrival
Finish options: Decelerate and stop - We have also added
TrainDecouple block which is used to detach a given number of cars from the incoming train. In the block’s parameters you can see that it decouples one car from the train by default, namely the first car (which is a locomotive in our case). A loco leaves the block through its bottom port outDecoupled.
-
TrainCouple block will be used to couple a loco with rail cars into a train.
Below you can find the description of the Rail Library blocks that we are using.
| Rail Library block | Description |
|---|---|
| TrainSource | Creates trains, performs initial setup and puts them in the railway network. Starts any rail process flowchart. Supports several types of arrivals scheduling. |
| TrainDispose | Removes trains from the model. |
| TrainMoveTo | Controls movement of trains. Can calculate routes and set switch states as the train goes along the route. Supports acceleration and deceleration. |
| TrainCouple | Couples two trains that "touch" each other into one train. |
| TrainDecouple | Decouples cars from the incoming train and creates a new train from those cars. |
| TrainEnter | Takes the train agent and places it on the railway track. |
| TrainExit | Removes the train from the railway network and passes the train agent on to the regular process flowchart. |
| RailSettings | Defines the advanced settings for the railway network. |
Modify the flowchart
Add more
TrainMoveTo blocks and connect them as shown on the picture by following the steps below to specify train’s behavior on the rail yard which will include loco decoupling and going back using the lead track for coupling with the rail cars again and moving them to the hump.
Start with connecting
TrainMoveTo block to the outDecoupled port (the one at the bottom) of the
TrainDecouple block as we will define the logic for the detached locomotive only.
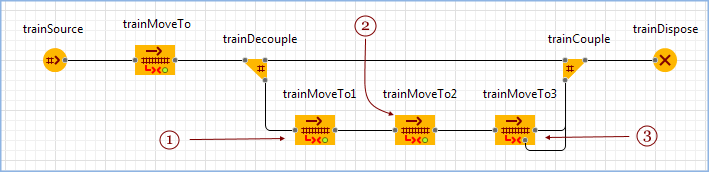
- Add one more
TrainMoveTo block into the flowchart (trainMoveTo1). Define parameters of the new block to move the locomotive to stopLineHump and stop it there.
Route is: Calculated automatically from current to target track
Target is: A given position on track
Position on track: stopLineHump
Finish options: Decelerate and stop - Add two more
TrainMoveTo blocks (trainMoveTo2, trainMoveTo3) by Ctrl + dragging (macOS: Cmd + dragging) the one you just edited.
- Modify parameters of the trainMoveTo2 block. At this point the locomotive is on its own and we need it to push the rail cars to the hump, i.e. it should get back to the stopLineEntry and then couple with the train end. The locomotive will move backwards omitting the
 trackArrival track that the rail cars are on:
Direction: Backward
Route should not contain: trackArrival
Position on track: stopLineEntry
- Pay attention to the number of connections leading from the trainMoveTo3 block to
TrainCouple block. The bottom port in the
TrainMoveTo block, as compared to the out port on the right, is used for a train that hits another train. In our case the collision corresponds to coupling of the locomotive arriving to the stopLineArrival track position with the rail cars which we have previously detached from this loco.
- Now modify parameters of the trainMoveTo3 block to move the loco from its current position to the stopLineArrival track position:
Position on track: stopLineArrival
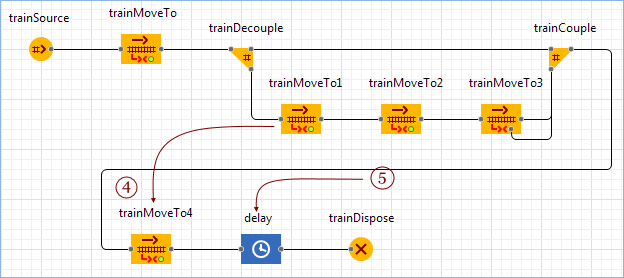
Now that we have moved the loco to the back of the train consisting of rail cars, we need to add another
TrainMoveTo block by Ctrl + dragging (macOS: Cmd dragging) trainMoveTo1 block. It will simulate loco pushing rail cars to the hump area, represented in our model by the stopLineHump element. - Modify parameters of the trainMoveTo4:
Position on track: stopLineHump
Cruise speed (0 for no change): 5 meters per second - Add
 Delay block from the
 Process Modeling Library palette to simulate a time delay and define its parameters:
Delay time: 15 seconds
We have completed Phase 2. You can run the model to see how trains appear and move along our track.
Run the model
- Click the
 Run toolbar button and choose the experiment you want to run from the drop-down list. Your simulation experiment is called Hump Yard / Simulation.
On starting the model, you will see the model window. It displays the presentation of the top-level agent type (by default, it’s Main).
Observe the process dynamics. If needed, adjust the execution speed to your needs using slow down and
  speed up controls.
If you see the "The car being created must fully be on one track" error, it means that there is not enough space for the whole train to fit in on the railway track before the stopLineEntry element. In this case you will need to increase the length of the trackEntry railway track and move the stopLineEntry further from the track’s start point.
The train stops at the stop line and the loco uses the lead track to couple with the train end.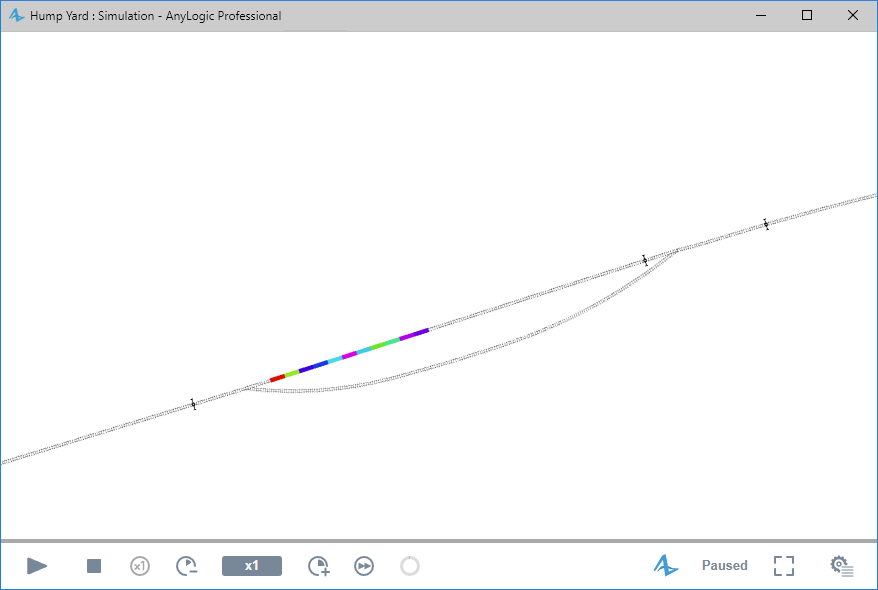
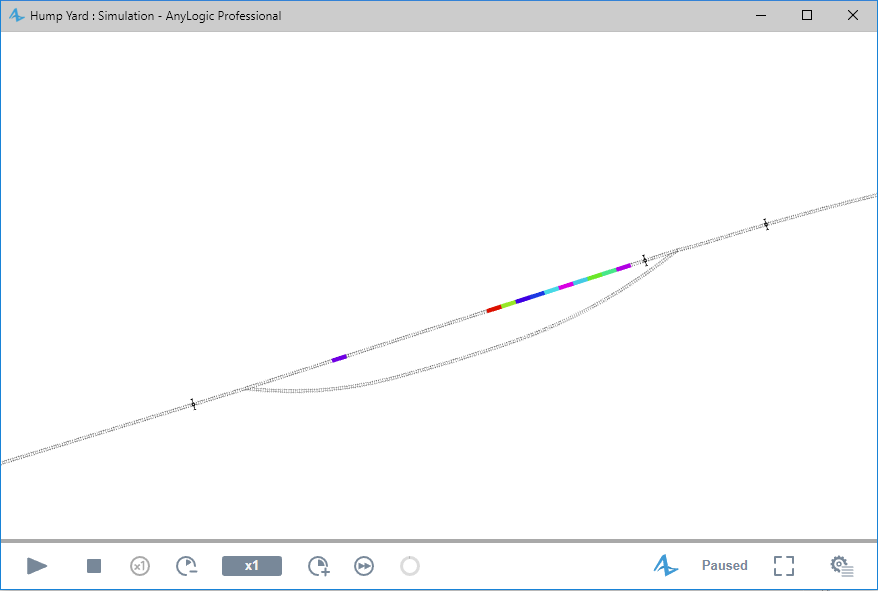
You can see that the loco moves the rail cars to the hump and stops for decoupling and classification.
Demo model: Hump Yard - Phase 2 Open the model page in AnyLogic Cloud. There you can run the model or download it (by clicking Model source files). Demo model: Hump Yard - Phase 2Open the model in your AnyLogic desktop installation.-
How can we improve this article?
-