

In the previous phase we added a distributor, in this phase we will create retailers.
This time we are not adding a single agent, but creating a population of agents. There are 14 retailers in the supply chain we are modeling. We will read their coordinates from a database and place retailers on the GIS map according to their addresses. This is done by sending the addresses to the online OpenStreetMap server, obtaining the corresponding coordinates from the server and placing the retailers on the map in the points with the obtained coordinates.
Create retailers
- Drag the
 Agent element from the
 Agent palette onto the
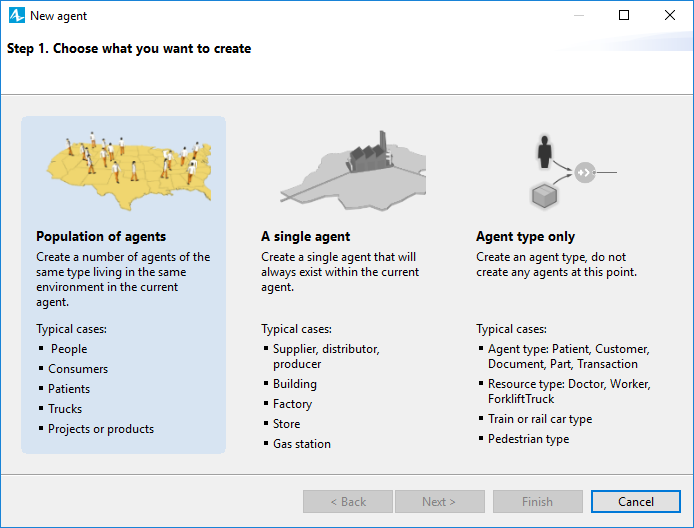
Main diagram. Select Population of agents in the New agent wizard.
Agent palette onto the
Main diagram. Select Population of agents in the New agent wizard.
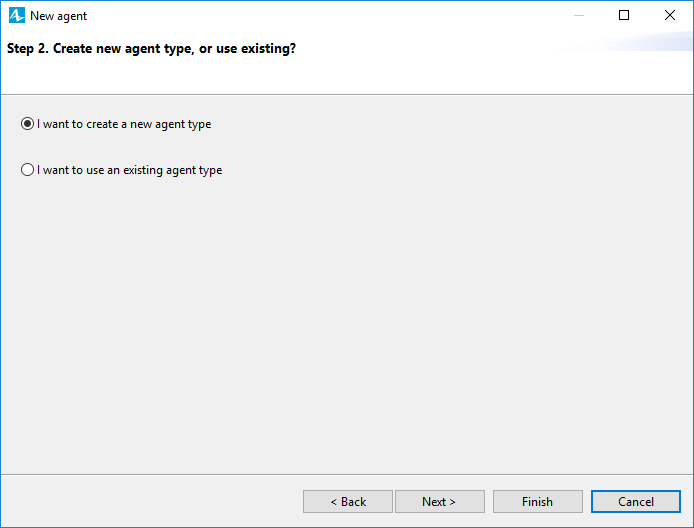
- On the next page of the wizard, select the I want to create a new agent type option. Click Next.
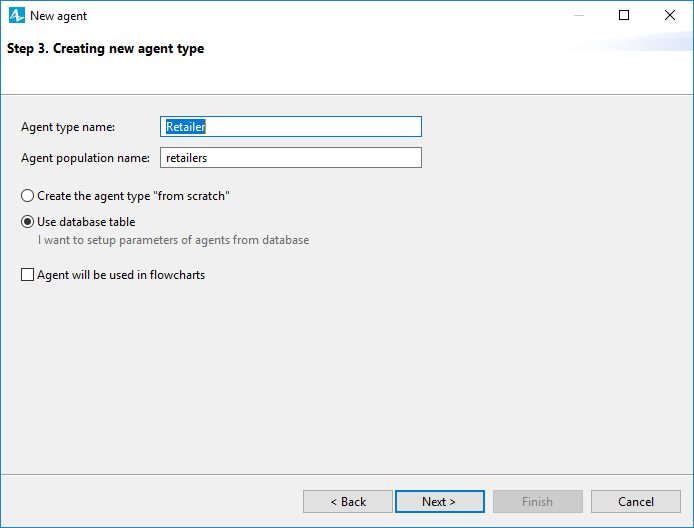
- Type Retailer in the Agent type name field. The specified name will autofill the Agent population name field with retailers.
- Select the Use database table option. Click Next.
- The next page of the wizard prompts you to select the database storing the data on the agent population we are creating. Leave the default Excel/Access setting in the Type drop-down list.
- Click the Browse button and navigate to the MS Excel file that stores the data we need to import. The required MS Excel file is located here:
AnyLogic folder/resources/tutorials/Supply Chain/data.xlsx
The AnyLogic folder is the location on your computer containing the installed AnyLogic, e.g.
C:/Program Files/AnyLogic 8 Professional
Double-click the file or select it and click the Open button to select the file. - When finished, the Select table(s) you want to import table on the right will contain the list of the database tables contained in the selected database. Here you can select the tables that you want to import into your model’s database, as well as modify their auto-generated names in the Name in AnyLogic DB column. Leave the Retailers entry selected and click Next.
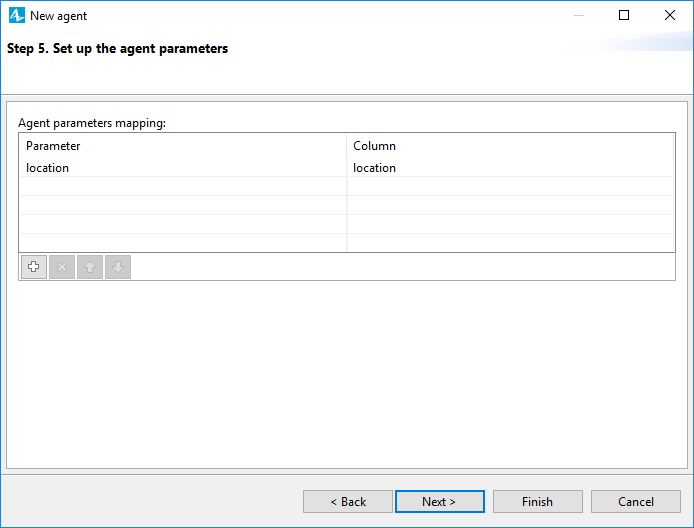
- The next page of the wizard allows to set up the parameters of the created agent. We want to read the location data and put it into the new location parameter of String type inside each retailer. Leave the default settings and click Next.
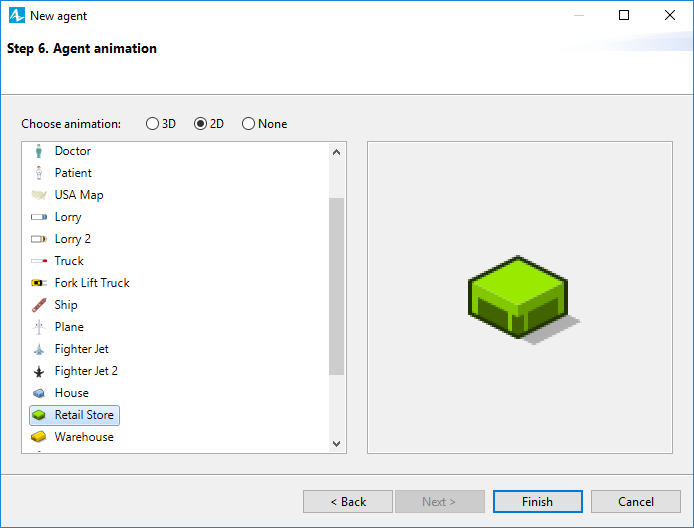
- Finally, choose animation shape for the new agent. Select the 2D option and then choose the Retail Store element from the list. Click Finish.
The properties of the created
![]() retailers agent population will open once we finish setting up this agent type.
retailers agent population will open once we finish setting up this agent type.
Let’s make retailers use the addresses from their location parameter as their GIS location names.
Setup the retailers coordinates
- Navigate to the properties of the
retailers population (if you have lost the
retailers selection, you can select the population in the
 Projects view, find it in the Main > Agents branch of the model’s tree).
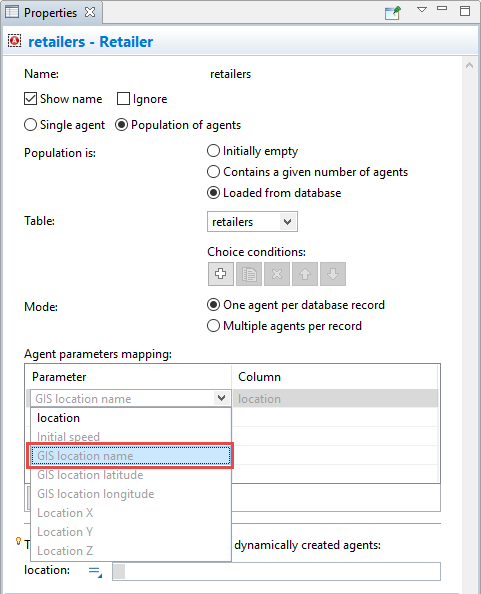
 - In the Agent parameters mapping table, click in the first cell of the Parameter column and select GIS location name from the list. Now the value of the location parameter will be used as the name of the retailer’s GIS location.
We have finished setting up the retailers.
You can double-click the
![]() Retailer agent type in the
Projects view and inspect the agent’s graphical diagram. It should have the retailer’s animation shape and the location parameter.
Retailer agent type in the
Projects view and inspect the agent’s graphical diagram. It should have the retailer’s animation shape and the location parameter.
Switch back to the
![]() Main diagram where we will continue developing our model. Agents live on the
Main diagram where we will continue developing our model. Agents live on the
![]() Main diagram, i.e.
Main diagram, i.e.
![]() Main plays the role of space for those agents. You can open any agent type from the model tree to add elements onto its diagram just like we added them onto the
Main plays the role of space for those agents. You can open any agent type from the model tree to add elements onto its diagram just like we added them onto the
![]() Main.
Main.
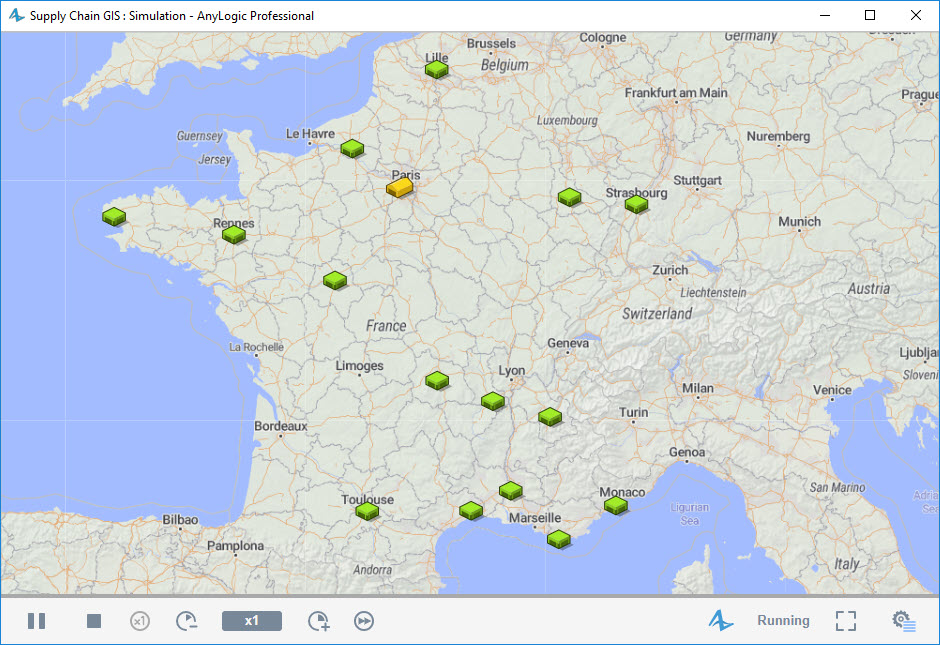
Zoom out the GIS map to see the whole France. It is important to have the whole country in the visible area of the GIS map, because the server will be searching the requested by AnyLogic agent coordinates within the visible area of the map only. If you have just Paris displayed on the map, the server may return Rennes metro station located in Paris instead of Rennes city coordinates, etc.
Run the model. You should see the retailers located in the French cities, the names of which were read from our model’s database.
-
How can we improve this article?
-