

Time units view is used when there is no mapping to calendar dates. Schedule intervals/moments are defined simply as number of time units (milliseconds, seconds, minutes, hours, days, or weeks) passed from the model start. Define schedule in this view when only interval durations are important, not the exact calendar times.
This view is convenient e.g. for defining maintenance intervention times, failures, etc. of various devices.
Let’s study how to define the device maintenance intervention times using the schedule in the Custom (no calendar mapping) view. Assume that maintenance is held regardless of calendar time, after 50 operational hours. Maintenance lasts 2 hours.
To define device maintenance times using the schedule in the Time units view
- Drag the Schedule
 element from the Agent palette on the graphical diagram of the agent.
 - Go to the Properties view.
- Specify the name of the element in the Name field. This name will be used later on for accessing the schedule from AnyLogic block(s) properties or code.
- Go to the Data section of the schedule properties. Choose the type of the value that will be controlled by this schedule from the Type group of buttons: on/off, integer, or real. In our case we need just to define how the device status changes from available (on) to unavailable (off) during the maintenance, so leave the default option on/off selected.
- Choose the schedule mode — whether it defines intervals or discrete time moments. Choose the option Intervals (Start, End) from the group of buttons The schedule defines.
- Choose the most convenient view for your task — in our case it is Custom (no calendar mapping), so choose this option from the Duration type group of buttons.
- Specify the recurrence of the schedule in the Repeat every... field. In our case the full cycle composes 50 2 = 52 hours. Therefore type 52 and choose hours there.
- In the Default value field you can specify the default value for the schedule — the value that will be used for the intervals not defined in the schedule. In our case it makes no sense, since we will define the whole life cycle for the device. Leave the default value unchanged.
-
Leave List of ranges selected. Define intervals in the table below. Each interval is defined in a separate row of the table. Add new row in the table by clicking the
 button to the right of the table.
Define Start and End times for this interval and the value that will correspond to this interval, in the Value cell. First, we want to define operational interval — so, leave 0
as Start, type 50 as interval’s End and leave on as its Value.
button to the right of the table.
Define Start and End times for this interval and the value that will correspond to this interval, in the Value cell. First, we want to define operational interval — so, leave 0
as Start, type 50 as interval’s End and leave on as its Value.

-
Now define one more interval corresponding to maintenance hours. Add one more row in the table as described above. Specify 50 as Start time of this interval, 52 as the
End and click in the Value cell to change its state from on to off.
You may delete any intervals from the table and move them in the table up and down (in this case you should contain the schedule integrity by yourself). This can be done by selecting the row in the table and then using the corresponding buttons
 ,
,  and
and  to the right of the table.
- If you want to shift the schedule in time anyhow (so that its start moment will correspond not to the start of the model, but to some other moment of model time), you can choose this particular moment in the Snap to control (here you define it again as the number of selected time units passed from the model start).
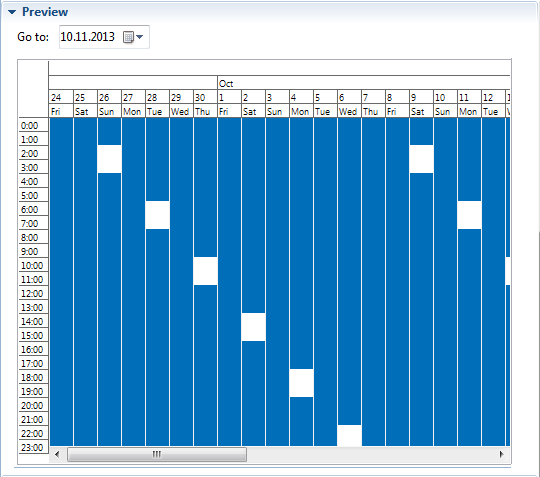
You can preview the schedule in the convenient way that is commonly used in digital diaries, organizers, and office software tools. Just open the Preview properties page of the schedule and check whether the schedule defines the desired behavior:
When finished with defining the schedule, you may use it in your model by referring to it in the properties of required block — or in your code, using the corresponding functions of the schedule.
-
How can we improve this article?
-