

Applies to AnyLogic Cloud 2.8.1. Last modified on June 18, 2026.
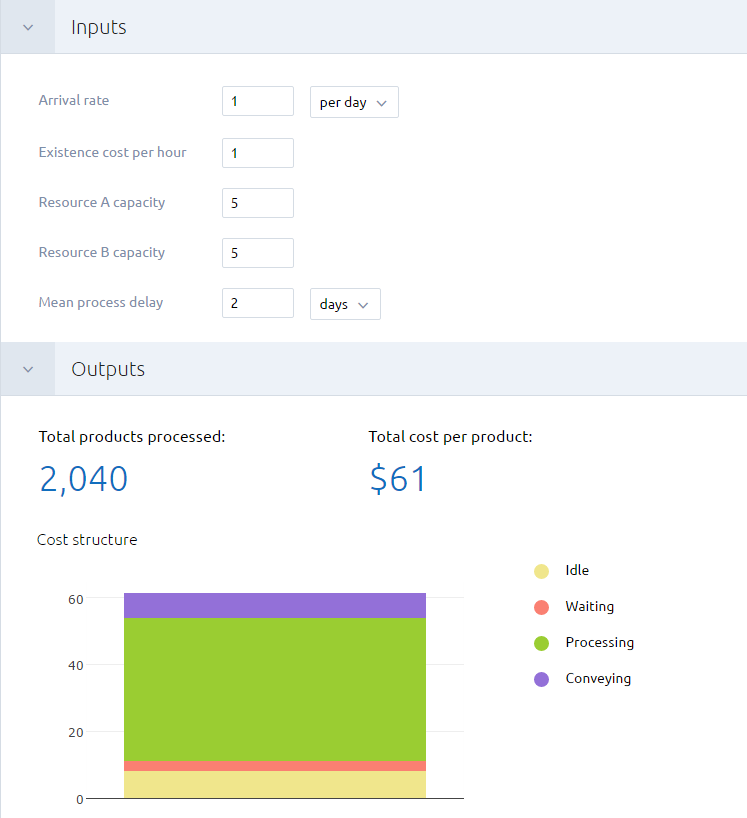
The experiment dashboard displays the current state of the experiment:
- The Inputs section lists the modifiable parameters of the exposed model version.
- The Outputs section lists the outputs of the model version if the experiment has already been run. The section is blurred if the experiment has not yet been run.
Before starting the experiment, you can modify the values of inputs as you see fit.
By default, the values on the dashboard correspond to the experiment template: a “blueprint” of a Cloud experiment. The template describes the run configuration for the AnyLogic Cloud experiment in the JSON format. This includes the model version, inputs, outputs, output widgets, and input widgets. When you upload a new version of a model, the system automatically creates a new experiment using this template. It also checks for any changes in the inputs and outputs, and updates the user interface accordingly.
You can configure the layout of dashboard by arranging inputs, toggling their visibility, display different charts, and so on.
The first time you upload a model to AnyLogic Cloud or create it in the web editor, a simulation experiment is created that fully matches the experiment template of the uploaded model version. When subsequent versions of the model are uploaded, a migration utility checks which input and output widgets of the experiment in the existing version are present in the new experiment template and transfers them to the corresponding experiments of the new version. This utility also checks for any new input and output widgets and adds them to the dashboards.
In Cloud versions prior to 2.5.0, when creating a new version, the default value of an input in the experiment was not checked. Input values in the experiment always carried over from the previous version, regardless of any changes to the default values in the model itself. As a result, AnyLogic Cloud never automatically updated the default values of the inputs in the experiment.
Starting with version 2.5.0, a new default value is applied to inputs with a default value at the time the new version is created. This ensures that the inputs used in the experiment are up to date with the latest model version. The default value is either taken directly from the default value of the parameter in AnyLogic or evaluated before exporting to Cloud if it is defined in code. The new default value is applied to the inputs with the default value at the time of export, and the value from the previous experiment is used for inputs with a non-default value.
Consider the following arrangement of the values:
|
Previous version Value in AnyLogic before exporting to Cloud |
Previous version Value in Cloud adjusted in the Cloud UI |
New version Value in AnyLogic before exporting to Cloud |
Resulting value On the dashboard |
|
|---|---|---|---|---|
| Input 1 | 1 | 1 | 2 | 2 |
| Input 2 | 2 | 3 | 4 | 3 |
The behavior is slightly different for selection-based controls that have default values, such as drop-down boxes and radio buttons. Before updating, Cloud verifies that the new version includes values that match to the old version by comparing names and values. For example, if the old experiment uses a default value, Cloud sets the updated name and its corresponding default value. If the old experiment uses a non-default value, Cloud checks if it exists in the new template by matching the index. If the value is found, its new name is applied. If the value is not found, it is set to the default value of the new experiment. If there are duplicate names, they are listed in the order of occurrence.
In addition, version 2.5.3 fixes an issue where the inputs (depending on their visibility settings) could behave inconsistently during conversion between the model editor and AnyLogic Cloud. Now, hidden inputs will remain hidden after uploading a new version from the editor, as long as the input exists in the new version. The migration of both values and widgets works the same way for both visible and hidden inputs; the only difference being that hidden inputs are not displayed on the dashboard.
To change the value of an input, use the control next to the input. You can do the following:
- Type a new value in the edit box,
- Select a new value from the combo box,
- Switch between radio buttons, and so on.
If your experiment uses files as inputs, you can also replace the files using the appropriate controls.
After entering new values, click ![]() to save the new input values in the experiment. The new values will become default for the experiment.
to save the new input values in the experiment. The new values will become default for the experiment.
If you accidentally hide necessary outputs, you can simply specify the identical input values, and AnyLogic Cloud will retrieve them from the database and display them in the Outputs section.
Some inputs in multi-run experiments (that is, all experiments in AnyLogic Cloud except Simulation) can be discrete ranges. You define the lower and upper limits of the range, as well as the step. AnyLogic Cloud will assign values from this range using the specified step between runs. The range for Boolean inputs is always {true, false}.
In optimization experiments (Optimization and Optimization with replications), one or more inputs can be continuous ranges. They work similarly to the discrete range inputs, but their values are determined by the optimization engine.
You can also vary combo boxes and radio buttons. If you enable varying during configuration, you can disable some of the values for the runs by clearing the corresponding checkboxes in the drop-down list next to the input.
If the input values that you have provided differ from the experiment’s defaults, you can discard the changes to return the input values to their default state.
To discard changes to the experiment’s input values
- Click the
 Discard changes button. The input values are returned to their default state.
To download the results saved in the output file
- On the right of the Outputs section of the experiment screen, locate the link to the desired output file.
- Click the link.
The download is handled by the browser. Depending on your browser settings, you may be able to specify the download location or rename the file if necessary.
To set up values for date inputs (such as Start date, Stop date, or custom Date type inputs), you can use the graphical date and time picker, which can be opened by clicking . After selecting the date, click Save in the picker to apply the changes.
To enter the date manually, use the following format:
yyyy-MM-dd hh:mm:ss
- The year must be a four-digit value between 1600 and 9999.
- The month, day, hour, minutes, and seconds must be two-digit values.
- If you set up the start date and stop dates manually, make sure that the stop date is later than the start date.
- The stop time (if set separately) must also be later than the start time.
-
How can we improve this article?
-