AnyLogic allows the user to add Java interfaces to a model.
Please refer to Interfaces section of Java online tutorials for more information on Java interfaces.
To add a Java interface
- In the Projects view, right-click (macOS: Ctrl + click) the model item you are currently working with, and choose New > Java Interface… from the popup menu.
-
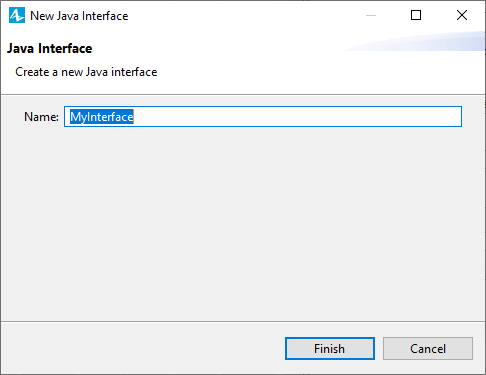
The New Java Interface dialog box is displayed.

- Specify the name of the new Java interface in the Name field and click Finish to complete the process.
-
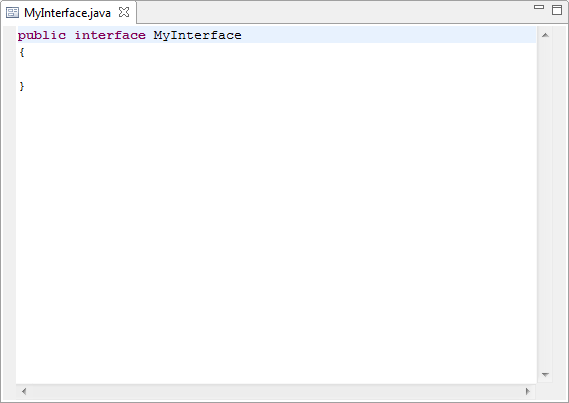
You will see Java editor opened prompting you to write Java code for the just defined interface.

In the Projects view, Java interfaces are visualized with the  icon:
icon:

You write Java code for your Java interface in Java editor, which can be opened by double-clicking the required Java interface in the Projects view.
Java interface has the only property, Ignore, allowing you to exclude the interface from model.
To use an interface, you write a class that implements the interface. When an instantiable class implements an interface, it provides a method body for each of the methods declared in the interface.
To make agent class implementing an interface
- Select the agent type in the Projects view.
- In the Advanced Java section of the Properties view, type the interface name in the Implements (comma-separated list of interfaces) field.
To make Java class implementing an interface
- Double-click the Java class in the Projects view to open its code in the Java editor.
-
Complete the first code line containing the class name with the string implements <interface name>:
public class MyClass implements Animatable
{ ... }
-
How can we improve this article?
-

