

Applies to AnyLogic Cloud 2.8.0. Last modified on June 18, 2026.
Use the Customization tab to configure various aspects of the look and feel of your Private Cloud instance.
To open the Customization tab
- While on the administrator panel, select Customization in the left navigation bar.
Switch between the tabs shown at the top of the page to access available customization categories.
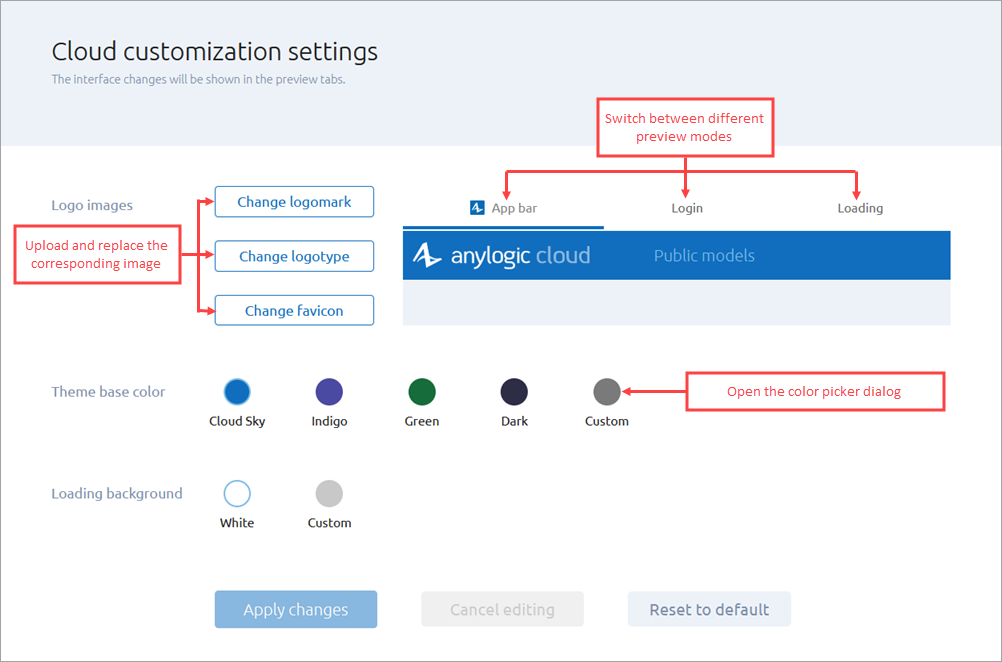
In the Appearance category, change the images that appear as instance logos and the interface colors.
To upload custom images
-
Click one of the following buttons to replace an image:
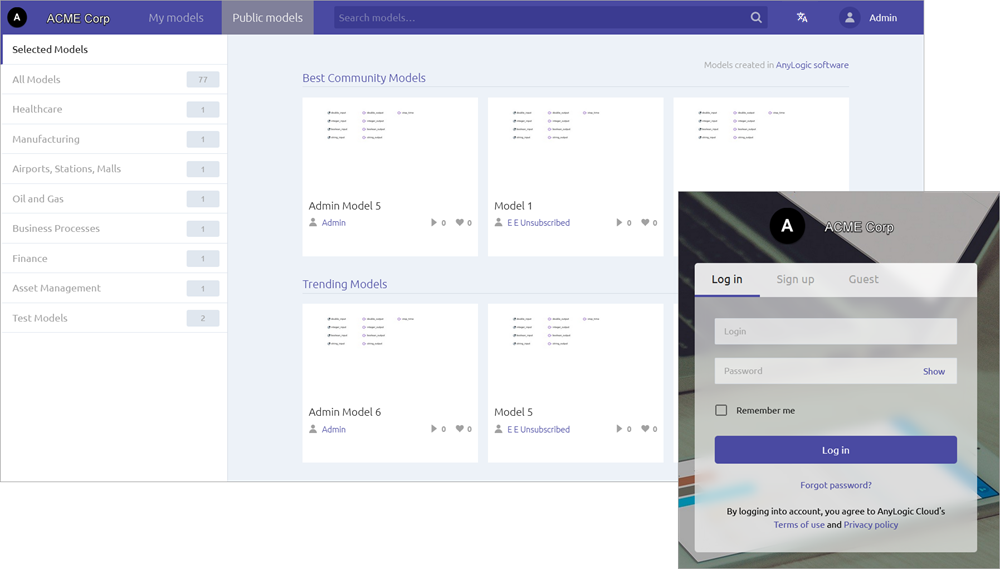
- Change logomark — Replace the logomark: the small image that appears in the upper left corner of the browser window in the Private Cloud workspace.
- Change logotype — Replace the logotype: the large image that appears on the Private Cloud login page.
- Change favicon — Replace the favicon: the small image displayed in the browser next to the title of the page on the Private Cloud tab.
-
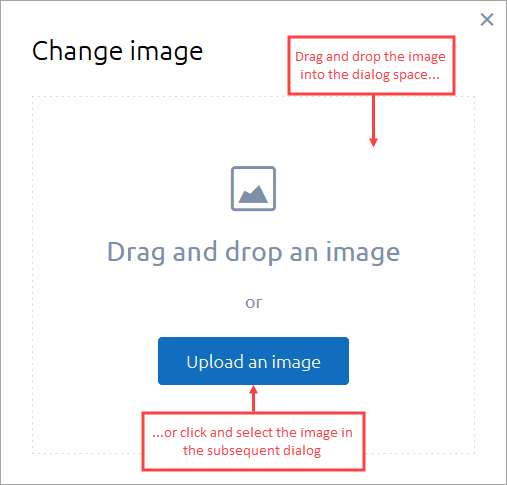
In the subsequent dialog, select an image file. To do that, either drag and drop the desired file directly into the dialog space, or click Upload an image, locate the desired file, then double-click the file or select it and click Open.
The following image formats are supported: GIF, PNG, and JPG.
-
On the next page of the dialog, specify which region of the image you want to use. To move the selection area, click
 and move the area while holding the left mouse button. To resize the selection area, use the rectangular handles in the area’s corners.
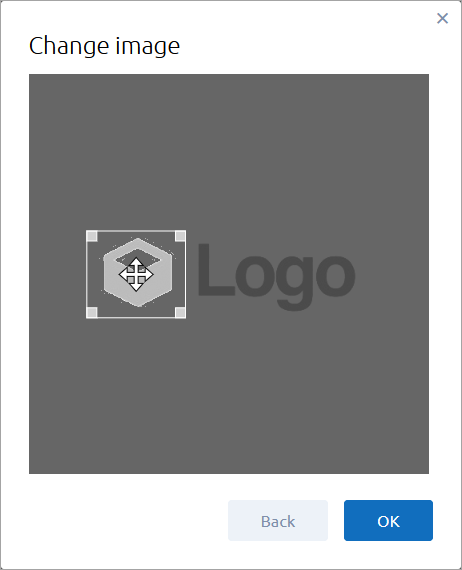
- Click OK to complete the upload. The image you have added will replace the default image of the chosen type in the preview area. Use the tabs above the preview area to switch between different display modes: App bar, Login, or Loading.
- Click Apply changes to save the changes you have made.
To discard your changes at any time before applying them, click Cancel editing.
To select a custom base color
In Theme base color, select a primary UI color for your Private Cloud environment: either select one of the suggested default colors or pick a custom color.
To pick a custom color:
- Click Custom.
- In the subsequent color picker dialog, use the available controls to specify the desired color. The layout and functionality of the color picker dialog may vary in different browsers and operating systems.
- Confirm your choice by clicking OK. The color you have chosen will replace the primary UI color in the preview area, as well as on the Cloud customization settings screen toolbar. The default color of the font used in the UI may be adjusted slightly to improve readability. Use the tabs above the preview area to switch between different display modes: App bar, Login, or Loading.
- Click Apply changes to save the changes you have made.
You can discard your changes at any time before applying them by clicking Cancel editing.
To select a custom background color for the loading screen
In Loading background, select a background color for the environment’s loading screen.
To pick a custom color:
- Click Custom.
- In the subsequent color picker dialog, use the available controls to specify the desired color. The layout and functionality of the color picker dialog may vary in different browsers and operating systems.
- Confirm your choice by clicking OK. The color you have chosen will replace the background color of the environment's loading screen. You can check the result on the Loading tab.
- Click Apply changes to save the changes you have made.
To discard your changes at any time before applying them, click Cancel editing.
To restore default images and colors
- On the Cloud customization settings screen, click Reset to default.
- Click OK in the confirmation dialog.
To change the page title of the instance in a web browser
Manually edit the frontend configuration file.
- Open the frontend configuration file, located in /home/alcadm/alc/controller/conf on the machine hosting the Cloud instance.
-
Enter your custom text in the documentTitle field:
documentTitle: "new tab text"
Make sure that the resulting file is valid. -
Save the file and restart the controller and frontend components by executing the following command:
sudo docker restart controller && sudo docker stop frontend
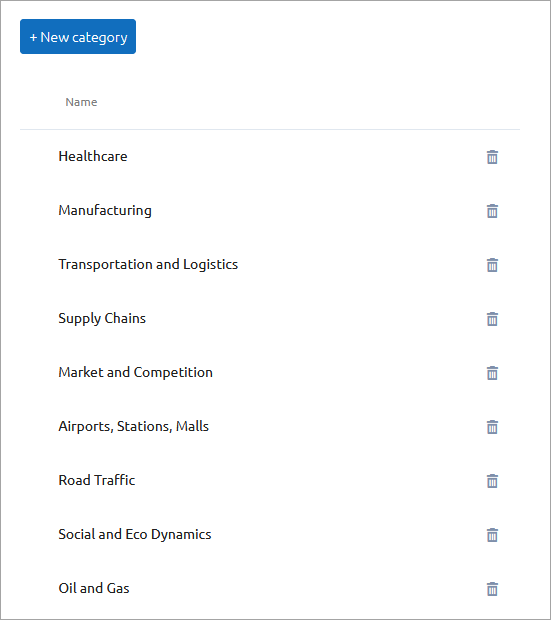
In Public categories, configure the list of categories for public models uploaded to the instance.
Users set the category of a model when uploading it from the AnyLogic desktop installation or when setting the model metadata on the model screen on the instance itself. This page of the administrator panel allows an instance administrator to change the list of predefined categories.
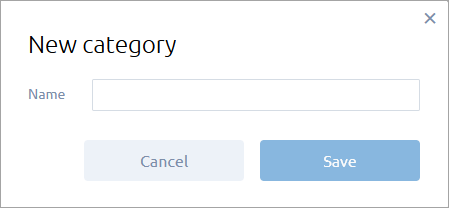
To create a new category
- Click New category in the top left corner of the screen.
-
The New category dialog appears:
-
Specify the name for the new category.
The following naming conventions apply:- There are no restrictions on character types.
- The name of the category can contain a maximum of 100 characters.
- Capitalization matters. For example, MyCategory and mycategory are different categories.
-
Click Save in the dialog.
If the button is inactive, the category name is invalid.
The newly created category will appear at the top of the list. You can then reposition it as you see fit.
To reorder categories
- Hover over the category whose position you want to change.
-
On the left, the
 icon appears to indicate that the item is draggable.
- Hold the left mouse button and reposition the item.
The changes will be saved and applied automatically.
To rename a category
- Hover over the category which you want to rename.
- Click in the edit box with the category name.
- Specify a new name for the category. Follow the naming conventions.
- Click anywhere else on the screen.
The changes will be saved and applied automatically.
To delete a category
- Click
 next to the category you want to delete.
The Other… category cannot be deleted.
-
How can we improve this article?
-