

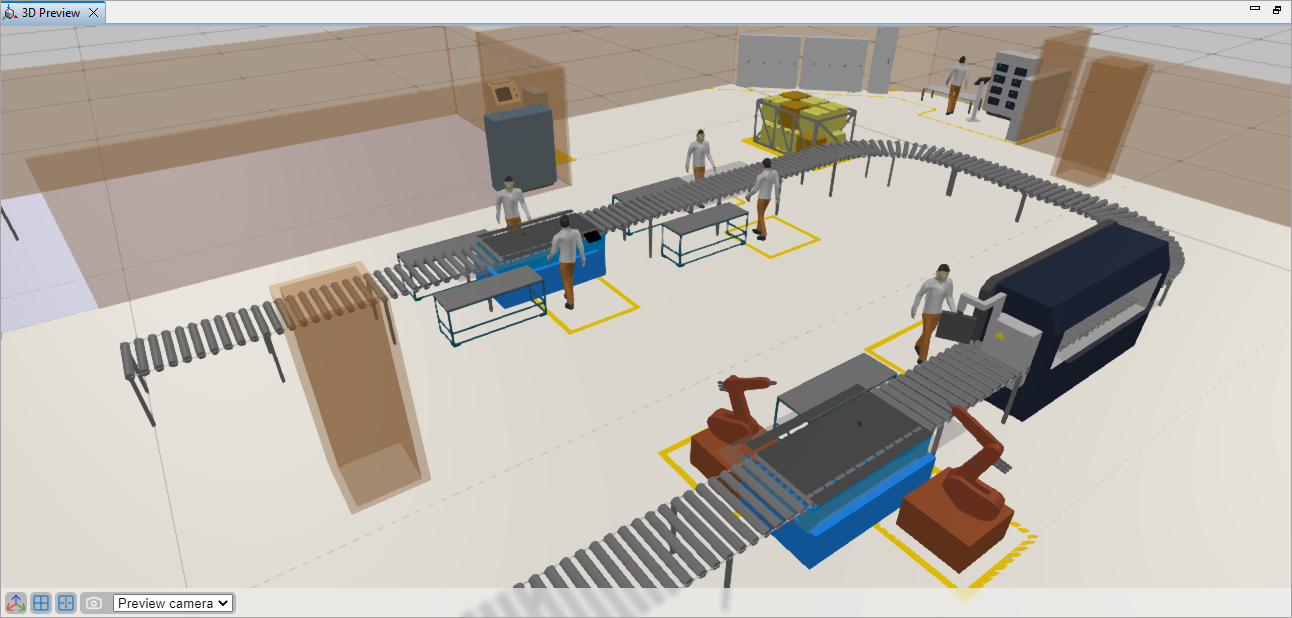
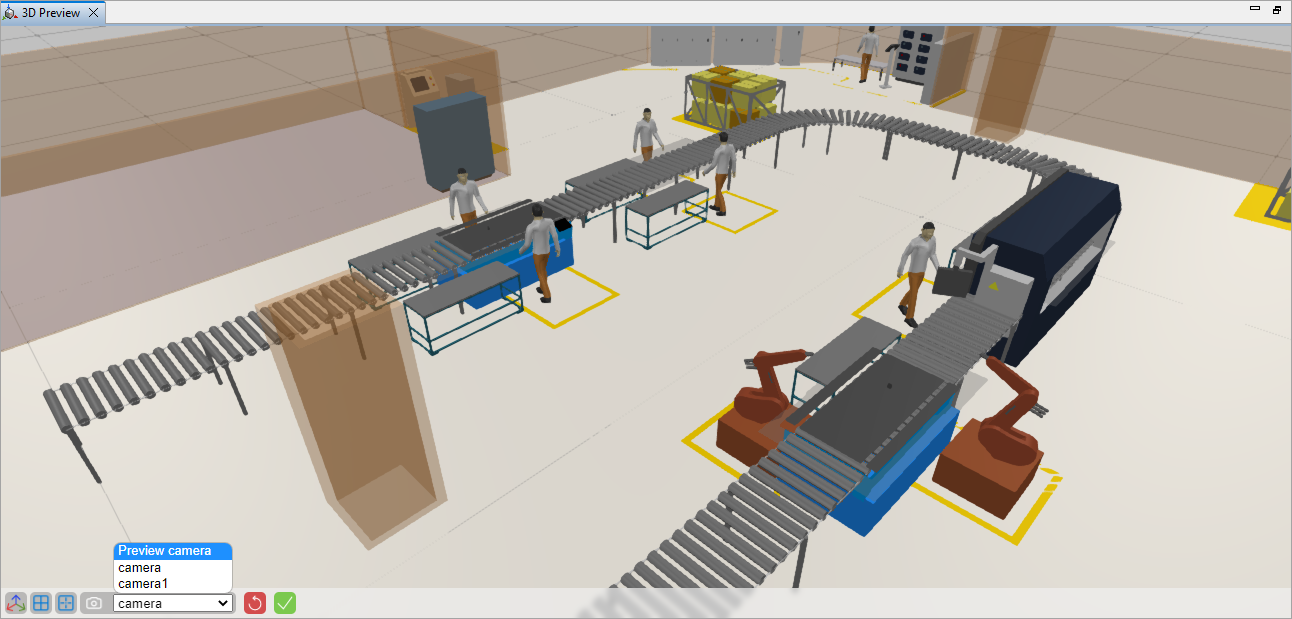
The 3D Preview view displays the static 3D animation scene for the agent type whose diagram is currently open in the graphical editor. This allows you to inspect the spatial layout and appearance of your 3D animation exactly as it will appear at runtime, directly during design time.
When creating animation for an agent type, you work within the graphical editor. This editor is a 2D canvas, so all 3D objects appear as top-down projections, which can make it difficult to judge their final look and placement in three-dimensional space.
The 3D Preview view addresses this limitation by providing an accurate real-time representation of your scene in 3D. You no longer need to run the model just to verify how presentation shapes and space markup elements will appear at runtime. The preview streamlines the animation design process and ensures that your 3D scene is arranged exactly as intended. Now you can verify the positions, rotations, and overall layout of shapes and space markup elements in a true 3D environment.
You can navigate through the 3D scene, select shapes and adjust their appearance by editing their visual properties. In the same way, you can reposition your cameras without needing to launch your model. You are not required to add the 3D Window to work with the 3D Preview.
 The 3D Preview
The 3D Preview builds objects primarily from their static (design-time) properties. However, Scale, X-axis and Y-axis rotation, and Replication use dynamically evaluated (runtime) properties exclusively. When a runtime property cannot be evaluated (for example, when it references a function or another object), the system attempts to use the corresponding design-time property if available. This allows rendering to continue even when dynamic evaluation fails.
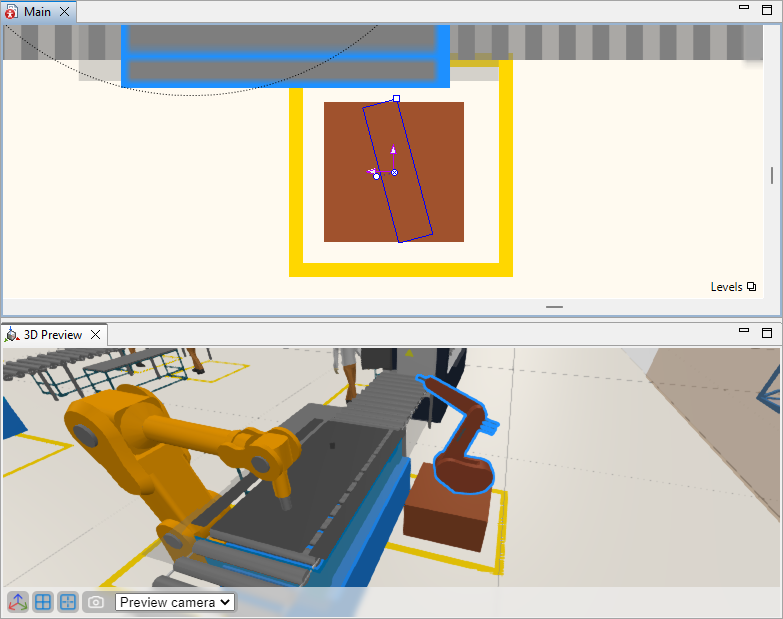
Here is just one example of where the 3D Preview is helpful: setting the initial lengths and positions of a robot’s links. Adjusting the robot appearance while relying only on the graphical editor provides no real understanding of how the links are arranged in 3D space. With the new 3D Preview, this problem is fully resolved.
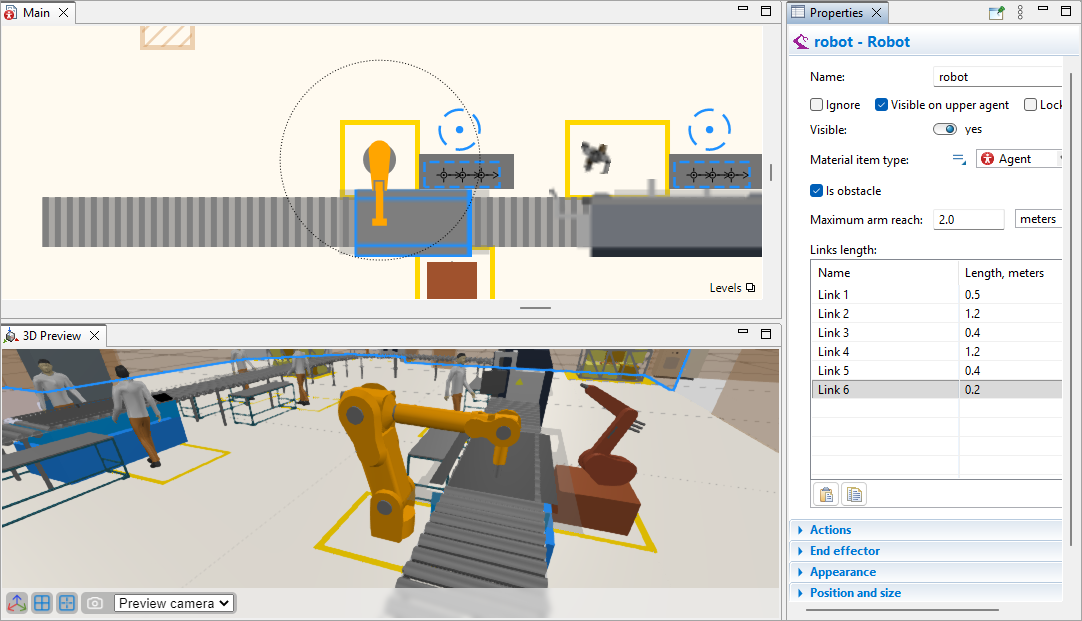 The 2D and 3D views of a robot
To show or hide the 3D preview
- You can toggle the 3D Preview view by selecting View >
 3D Preview from the main menu.
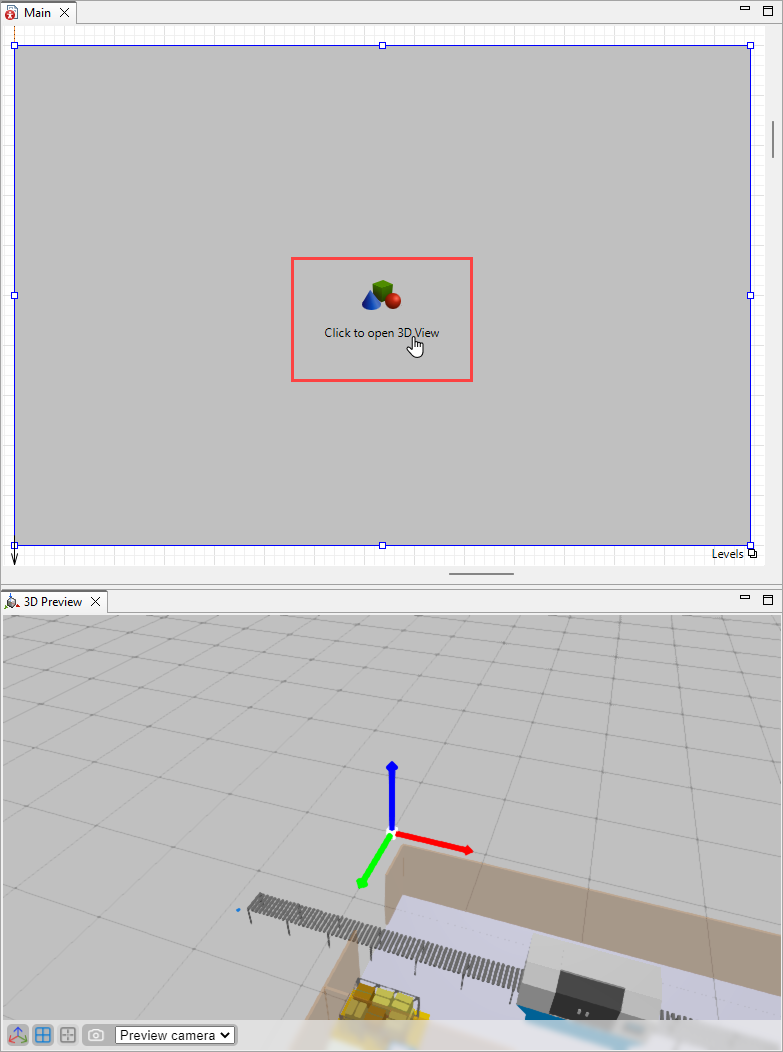
 - Alternatively, use the Click to open 3D View link inside the 3D Window to open the 3D Preview view.
- To exit the preview, close the 3D Preview tab by clicking ×.
To select the browser used to render the 3D preview
- Select Tools > Preferences... from the main menu.
- In the Graphical editor section, select one of the options:
Chromium (preferable for Windows)
OS Browser (preferable for MacOS arm64 or Linux)
External Browser (preferable for MacOS x64) - Press Apply, then OK to save your selection and close the Preferences.
- For the changes to take effect, close and reopen the 3D Preview.
The 3D Preview toolbar at the bottom provides access to the following controls:
-
 Show axes button — Displays the coordinate system origin in the 3D Preview. The X-axis is displayed in red, the Y-axis in green, and the Z-axis in blue.
 Show grid button — Displays the grid, which may help with navigation and element alignment. By default, the grid is visible.
 Center on selected button — [Active when a space markup element or a presentation shape is selected] To find a certain element in the 3D Preview, you can select it in the graphical editor and then press the Center on selected button. It will center the 3D Preview on the element. To center the graphical editor on an element, double-click the element in the 3D Preview.
- Camera — Use the
 camera drop-down menu to switch between the Preview camera and cameras created with the
  Camera element. The Preview camera is used only in the 3D Preview and cannot save its coordinates. Runtime cameras can be adjusted with precision and save position changes.
  Update camera position — [Active when camera position differs from the saved coordinates] Saves new coordinates and orientation for the currently active camera.
 Revert camera position — [Active when camera position differs from the saved coordinates] Reverts changes in camera position and orientation.
 Graphics quality — Cycles through preview graphics quality settings:
 Low,
Medium (default), and
Low,
Medium (default), and
 High presets.
For details on preset configuration, please refer here.
Note that the 3D Preview does not support custom graphics settings. The Custom option available in the model window settings is not available here; only Low, Medium, and High presets can be used.
High presets.
For details on preset configuration, please refer here.
Note that the 3D Preview does not support custom graphics settings. The Custom option available in the model window settings is not available here; only Low, Medium, and High presets can be used.
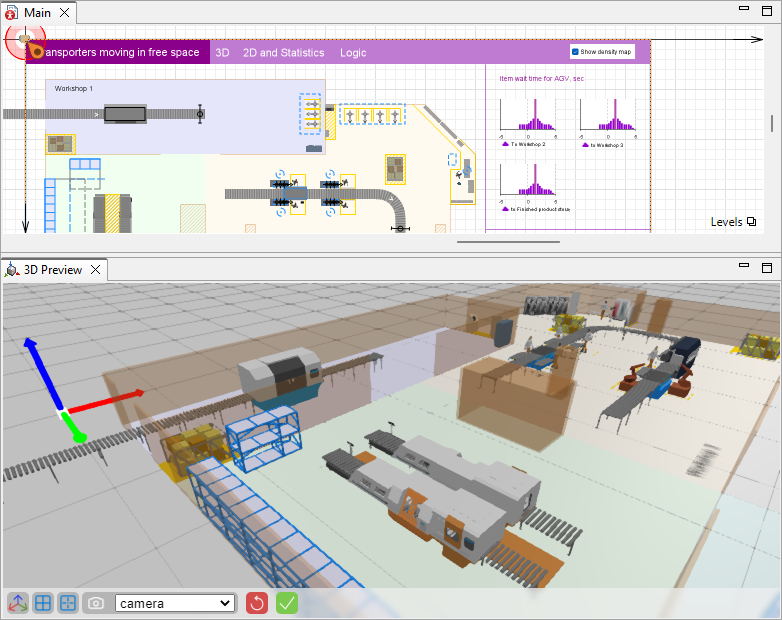 The graphical editor and 3D Preview with axes and grid on
To pan the view
- Click inside the 3D Preview view with the left mouse button and move the mouse while holding the button down. For more precision, use arrow keys.
To zoom in or out
- To zoom in, move the mouse wheel away from you; to zoom out, move the mouse wheel toward you. The preview will zoom in or out at the center of the view.
You can switch between the Preview camera and runtime cameras created with the Camera element. The Preview camera is selected by default and inherits the coordinates of the last selected camera when you switch views, regardless of whether the new position was saved.
Positioning and rotating cameras precisely in the graphical editor can be challenging. The 3D Preview lets you fine-tune camera angles, preview the exact runtime view, and save the new camera coordinates and orientation if needed.
To select a camera
- On the bottom bar in the 3D Preview, locate the camera drop-down menu and click the arrow.
- Select the desired camera.
To rotate the camera
- Inside the view, press the mouse wheel and move the mouse around. Alternatively, press Alt + left mouse button (macOS: Opt + left mouse button) and move the mouse around.
To update or reset the position of a camera
-
If you change the position of runtime cameras, you can save the new coordinates using the Update camera position button.
-
You can revert the changes you made before updating the coordinates by pressing Revert camera position button.
To select an element
-
In the 3D Preview, navigate through the model and click the desired element. It will light up both in the 3D Preview and the graphical editor. The same thing would happen if you selected the element in the graphical editor.
- Now you can center the 3D Preview on the selected object. To do so, use the Center on selected button on the 3D Preview toolbar.
To edit an element
- When you select an element, its properties will be displayed. The changes you make in the Properties view will be visible in both graphical editor and 3D Preview instantly.
-
How can we improve this article?
-