

Applies to AnyLogic Cloud 2.8.0. Last modified on July 06, 2026.
To check your Cloud version, go to <https://your Private Cloud instance address>/build.txt in your preferred web browser. To check the version of the installation script, see <the folder containing the installation script>/templates/preload_frontend_build.json.
For version differences, see the release notes.
For version differences, see the release notes.
Before installing AnyLogic Private Cloud, consider checking the system requirements.
You should execute all the commands described below in your Linux terminal.
-
Create a directory to which you will download Private Cloud, or choose an existing one:
- mkdir directory — to create a directory
- cd directory — to navigate to an existing directory
-
Download Private Cloud:
-
To download the latest version of Private Cloud, execute the following command:
sudo wget https://cloud.anylogic.com/files/anylogic-private-cloud.tar.gz - To download an older version of Private Cloud, use the link provided by the AnyLogic support team.
-
To download the latest version of Private Cloud, execute the following command:
-
Extract the installation archive:
tar -xf anylogic-private-cloud.tar.gz
Create a new directory or use an empty one; most importantly, do not unpack the archive into a folder that already contains files from a previous installer version, as this may cause conflicts and lead to issues. -
Navigate to the resulting folder:
cd anylogic_private_cloud
-
Run the installer script:
sudo ./install.sh
If you want to place the Private Cloud instance in a non-default directory, use the alc_home flag:sudo ./install.sh --alc_home /<some directory>
The installation script of Private Cloud supports a selection of options. For more information, see Installer reference.During the installation, you will need to specify the Private Cloud external address.Enter Cloud external address :
Type in a valid hostname or IP address, and press Enter.The hostname or IP address you use should be the same address the end users will use to connect.
You should not use loopback addresses like localhost or 127.0.0.1.Previous versions of Private Cloud required activation via the explicit address of Team License Server. Starting with version 2.6.0, Private Cloud activates via the Team License Server web UI. See how to add a new product in Team License Server. Starting with version 2.8.0, the only difference between an active and an inactive Private Cloud instance is that the inactive one cannot run models.Next, you will need to specify whether you plan to enable HTTPS support in Cloud.Enter Y to enable HTTPS support [y/n]:
To proceed with HTTPS configuration, you need a valid SSL key and certificate pair. If you are not sure whether you have them, contact your system administrator for assistance, or enter n to use the HTTP protocol.It is impossible to properly host a Private Cloud instance with a self-signed SSL certificate. The desktop installation of AnyLogic will not be able to upload models to it. You can, however, complete the installation process to ensure the Private Cloud instance works properly in your network. Nonetheless, it is strongly recommended to avoid enabling HTTPS support in case you do not have the certificate signed by a trusted provider.Specify the full path to your SSL key.Enter HTTPS key file path :
Specify the full path to your SSL certificate.Enter HTTPS certificate file path :
To simplify the installation, provide the installer script with appropriate flags manually. To view the full list of supported flags, execute the following command:sudo ./install.sh --help
-
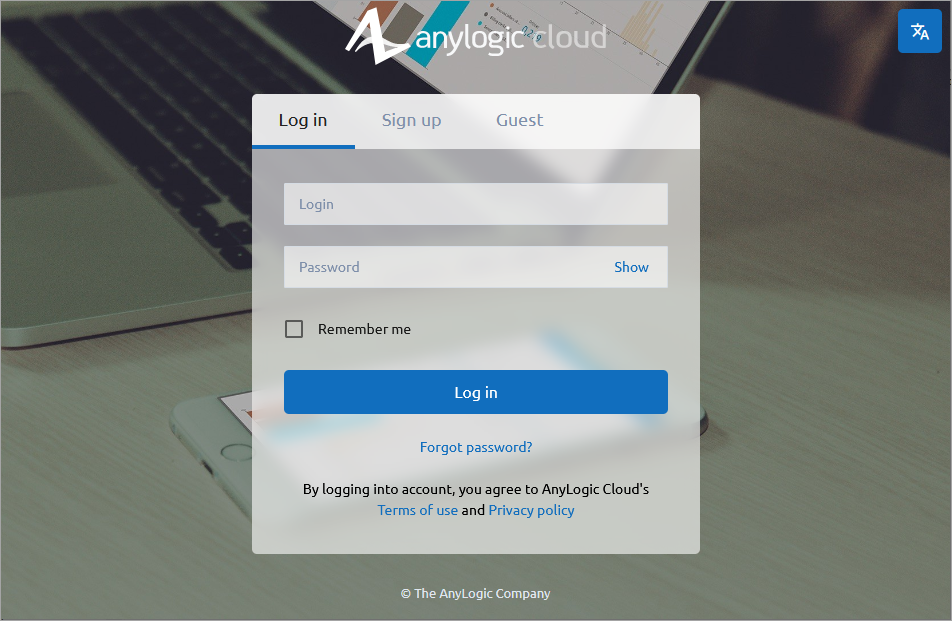
Upon completing the installation, navigate to the address you have specified for your Private Cloud instance using a browser of your choice. Click Guest in the top right corner of the screen, then select Log in. The Sign-in page, shown in the figure below, will open. The default credentials of the administrator account are as follows:
- User name: admin
- Password: admin123
 Make sure to change the default password of the administrator account. To do that, log in as the administrator, click admin in the top right corner of the screen, then select Profile. After that, modify the password using the Change Password form.
It is also recommended to change the default user name of the administrator account to a valid email. You can do that on the administrator panel. - Users of Private Cloud will also need to create their accounts to begin uploading models. Alternatively, the Cloud administrator can create user accounts in the administrator panel.
To learn how to configure AnyLogic desktop installations to connect to your freshly installed Private Cloud instance, see Exporting a model to AnyLogic Cloud.
-
Upon completing the installation, you will need to prepare your secondary nodes — additional machines that your Private Cloud Enterprise instance will use to run models. The following steps must be performed on each secondary node.
-
Create an administrator user account (we recommend to use alcadm) and add it to the Docker group:
sudo useradd -m alcadm
sudo passwd alcadm # Input a new password for the alcadm user here — you will need it later
sudo usermod -a -G docker alcadm -
Open a text editor with the sudo configuration:
sudo visudo -f /etc/sudoers.d/alc
-
Add the following line to the end of the file:
alcadm ALL=(ALL) NOPASSWD:ALL
If you have problems while exiting visudo, try executing the :wq command to save and exit, or execute :q! to exit without saving. -
Install the openssh-server package (if not installed yet) and modify sshd_config to allow for password authentication if it is not enabled by default:
sudo nano /etc/ssh/sshd_config
PasswordAuthentication yes -
Restart sshd to apply changes:
sudo systemctl restart sshd
-
Create an administrator user account (we recommend to use alcadm) and add it to the Docker group:
-
After that, you need to distribute the necessary certificates from your primary node (the one that has Private Cloud installed):
-
Copy the SSH key to every secondary node:
sudo ssh-copy-id -i /home/alcadm/alc/controller/keys/id_rsa.pub alcadm@the internal IP address of the secondary node
This command should be executed for each secondary node in your cluster. -
Copy the registry certificate of Docker to each secondary node:
scp -r /etc/docker/certs.d/ alcadm@%the internal IP address of the secondary node%:./
-
Copy the SSH key to every secondary node:
-
Next, you have to properly install the freshly acquired certificates on each secondary node:
-
Copy certs.d to the /etc/docker directory:
sudo cp -r /home/alcadm/certs.d /etc/docker
-
Open /etc/hosts for editing:
sudo nano /etc/hosts
-
Add the following line to the file:
primary node ip local.cloud.registry
An example of such file is as follows:
-
Copy certs.d to the /etc/docker directory:
-
Now, inform the primary node about the nodes. To do that, edit nodes.json in the /home/alcadm/alc/controller directory.
This file contains information about all nodes of a Private Cloud cluster.- host — the IP-address or FQDN of the node.
- sshAccess.method — Use PRIVATE_KEY or PASSWORD (PRIVATE_KEY is the recommended option.)
- sshAccess.user — The default user created earlier (alcadm).
- sshAccess.key — The name of the private key file. This file is generated upon installing the primary node. You can find it in the /home/alcadm/alc/controller/keys directory. You need this file for authorization via the PRIVATE_KEY method (see sshAccess.method above). In case you use PASSWORD, specify the password there. If unsure, use id_rsa.
- labels — A list of services running on this node. These services are described in the applications.json file. Put executor there.
The following is the example JSON object that represents a secondary node:
For more information about Private Cloud configuration files, see the corresponding article.{ "host" : "10.0.0.1", "sshAccess" : { "method" : "PRIVATE_KEY", "user" : "alcadm", "key" : "id_rsa" }, "volumeRoot" : "/home/alcadm/alc/cache", "labels" : [ "executor" ], "stoppable" : false, "manageable" : true } -
Restart the controller service component to apply changes by running the following command on the primary node:
sudo docker restart controller
After these changes, the additional nodes running executor service components should be visible in the controller state report. To access this report, open the browser of your choice and go to http://Private Cloud address:9000/main.html (for older versions of Cloud) or http://cloud address/admin/controller?tab=NODES (for Cloud 2.2.0 and later).
Regardless of the edition, you need to obtain a license key for your instance of Private Cloud after installation. Otherwise, the model runtime engine will be unavailable.
After adding the product to your copy of Team License Server (as described in the Team License Server documentation), open the Status tab of the administrator panel on your Private Cloud and activate the key by entering the address of your Team License Server installation.
After adding the product to your copy of Team License Server (as described in the Team License Server documentation), open the Status tab of the administrator panel on your Private Cloud and activate the key by entering the address of your Team License Server installation.
-
How can we improve this article?
-