|
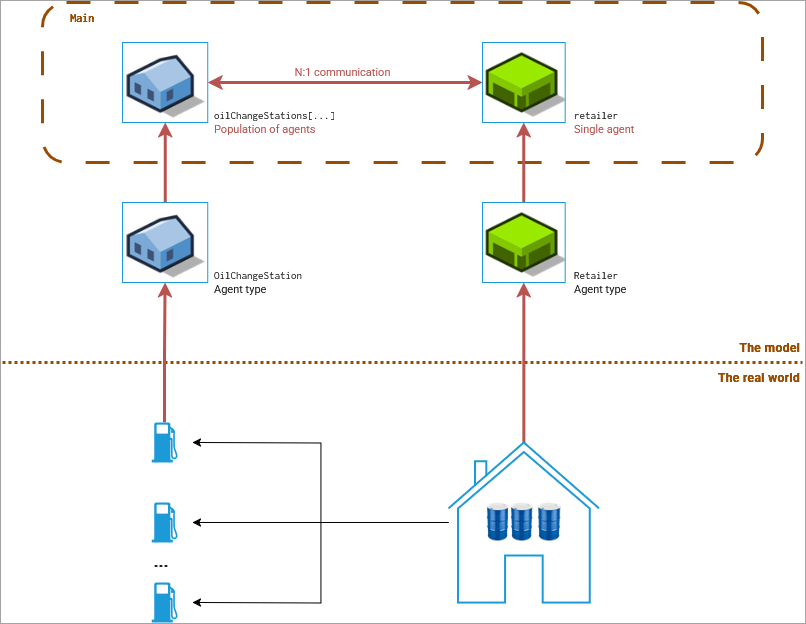
We will start with outlining the high-level structure of the model: a single retailer and multiple oil change stations. Later we will model the factory. For this we need two new agent types: Place instances of both types in the |
|
To use AnyLogic 9 and continue with this tutorial, make sure you have an AnyLogic Cloud account. Otherwise you will not be able to access AnyLogic 9.
To log in to AnyLogic Cloud and create a new model
- Log in to AnyLogic Cloud at https://cloud.anylogic.com.
- Click the My models tab to open the page containing your models.
- Now click + New model to open the Create new model dialog box.
-
In the Create new model dialog box that appears, specify the name of the new model: Motor Oil Supply Chain.
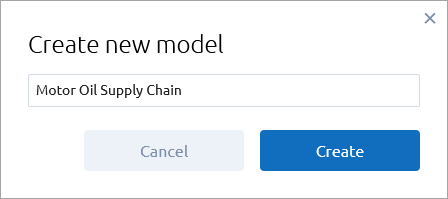
- Finally, click Create.
The AnyLogic 9 editor opens:
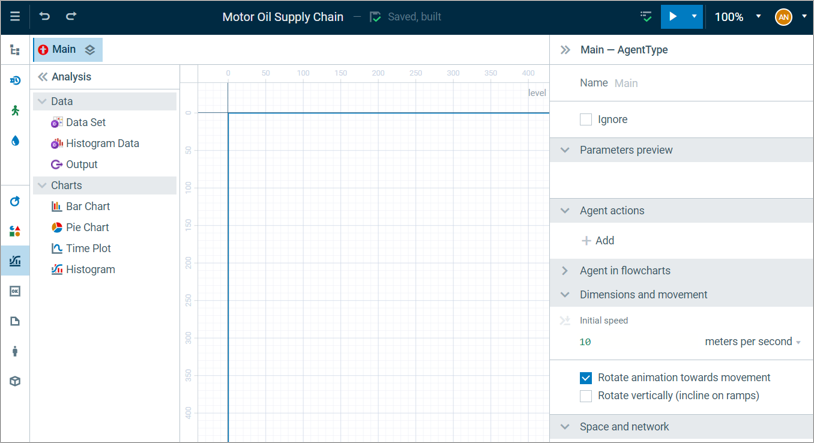
You are in the editor of the Main agent type. Main is the top-level agent in the model that is created when the model is started. The designated top-level agent can be changed in the properties of the model.
An agent type represents a customizable entity within a simulation model that can exhibit individual behavior, state, and interactions with other agents. It serves as a building block for modeling complex systems.
We will begin by creating an agent type for an oil change station.
To create an agent type
-
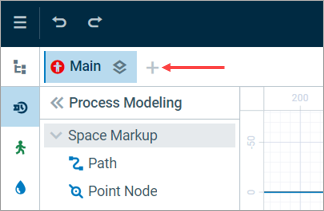
Click
to the right of the
Main tab.
-
A new agent type is created. In the properties, rename it to OilChangeStation.
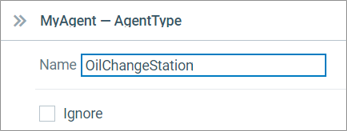
-
Expand the
 Projects tree to see all the agent types in the model.
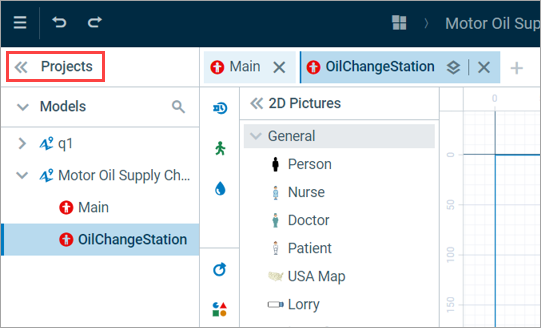
The agent icon is a visual representation of an agent type that is used to depict the agent in the simulation’s graphical interface or animation. It is a good idea to customize it to reflect the agent’s role or characteristics in the model.
To create the icon for the oil change station
-
Open the graphical diagram of the agent type in the editor — the active tab should be named
OilChangeStation.
-
Open the
2D Pictures palette in the palette view.
-
Drag and drop the House image onto the diagram.
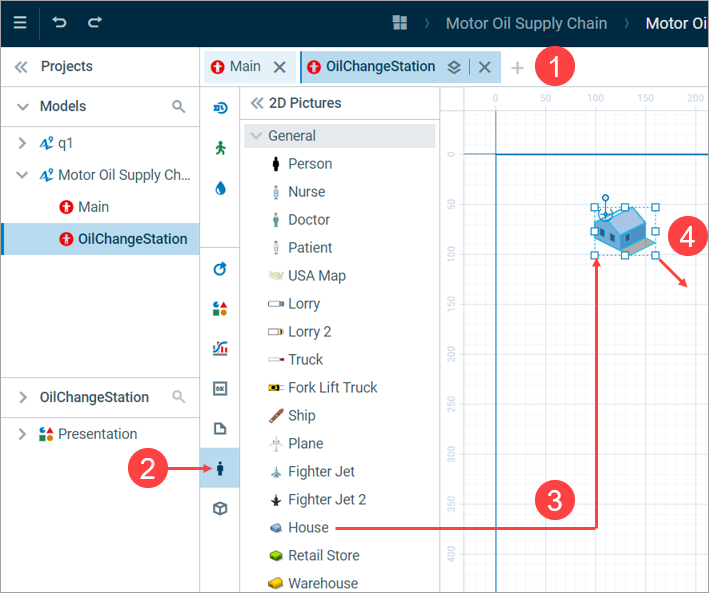
-
Enlarge the image to approximately 50x50 pixels by pressing Shift and dragging the lower right handle of the image.
Holding down the Shift key ensures that the original proportions of the image are maintained. -
Open the properties of the image by clicking the image.
In the Visibility and presentation section, select Agent icon: this will make the image the icon for this agent type.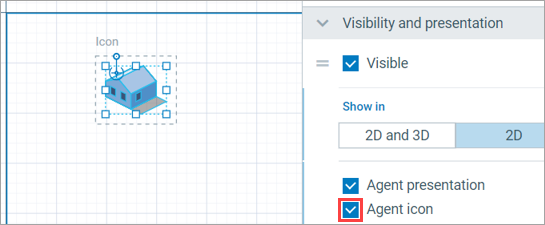
Since we need to model 500 oil change stations, we need to create a population of agents based on our new agent type. An agent population is a collection or group of agents of the same type, allowing you to model multiple entities that can interact with each other and other things within a simulation model.
To create a population of agents
- Switch to the
Main agent type by clicking the appropriate tab name.
-
Drag and drop the
OilChangeStation agent type from the project view onto the
Main diagram.
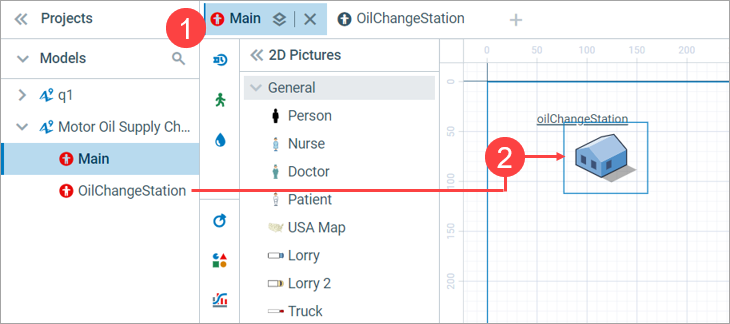
- Double-click the name of the agent that have appeared on the diagram and rename it to oilChangeStations.
- Open its properties and, in the upper section (general properties), select Population of agents.
-
In Initial number of agents, set the size of the population to 500.
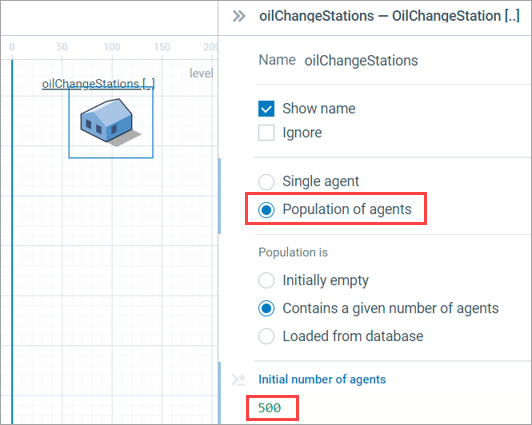
Now, we will create a new agent type to represent the retailer by repeating the steps above.
To create a new agent type and its icon
-
Click
to the right of the agent tabs and set the name of the new agent to Retailer.
-
Create the icon for the
Retailer agent type by dragging and dropping the Retail Store image from the 2D picture on the diagram of this agent type, enlarging it, and enabling the Agent icon option in the properties.
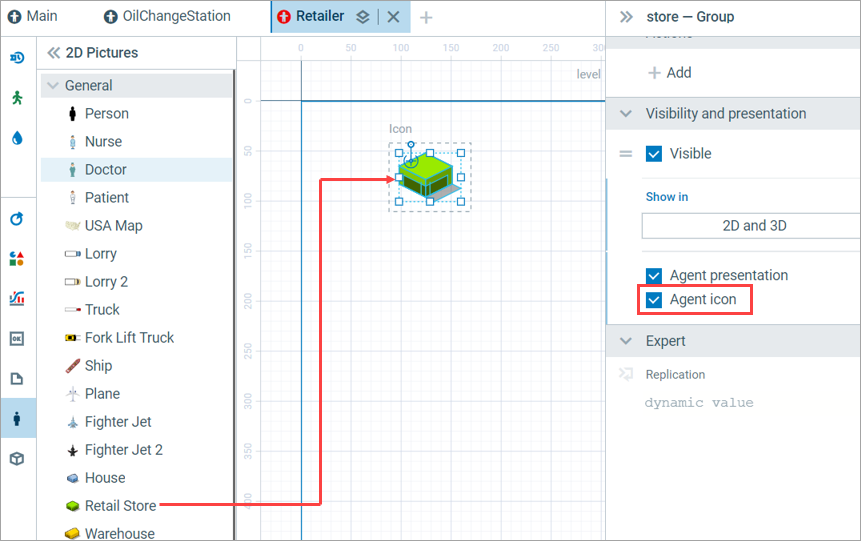
-
Similar to the oil change stations, we need our retailer to be present on the Main agent diagram.
Switch to theMain agent type by clicking the appropriate tab name.
-
Drag and drop the
Retailer agent type from the project view on the
Main diagram to create an instance of it.
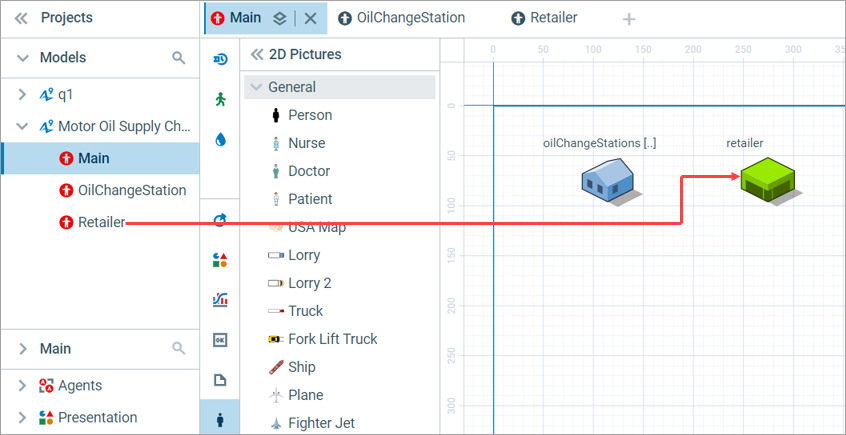
Now, when the model is started, it will create the top-level agent of the Main type and then a population of the OilChangeStation agents and a single
Retailer agent within (or embedded into)
Main.
-
How can we improve this article?
-


