


In AnyLogic 9, the Properties view is docked to the right side of the model editor workspace and displays the properties of the currently selected element. If no elements are selected, the properties of the currently selected agent are displayed.
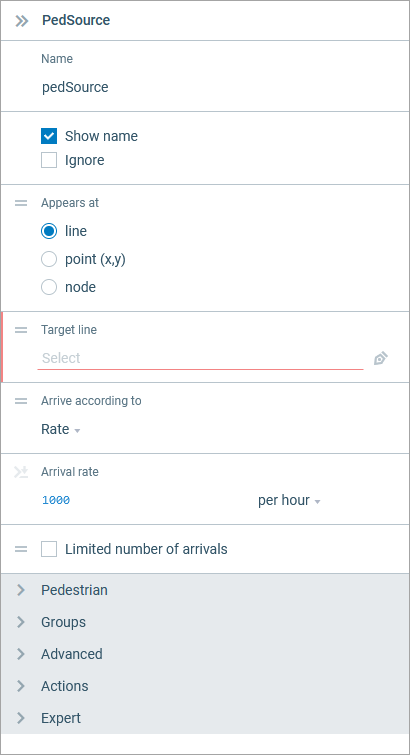 Properties of a PedSource block
The properties of an element are organized in groups, which you can expand or collapse.
When you change the value of a property, that property is highlighted with a vertical blue line.
Sometimes elements have properties that cannot be left unspecified, otherwise an error will occur when you try to run the model. Such properties are marked by a vertical red line to alert you.
During model development, you often need to refer to a markup element from the properties of a block. You can do so using the property edit menu. The model editor in AnyLogic 9 supports all the basic options, such as selecting an element from the list of existing ones or selecting an element on canvas.
The list of existing elements is available from the menu that appears when you click the property:
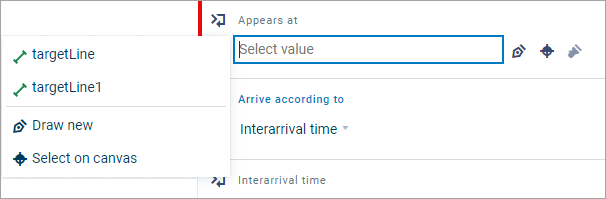 Property edit menu opened from Appears at property
To select an element on the canvas, either use the button next to the property, or use the Select on canvas command from the property edit menu.
Sometimes you need to reference an element that you have not yet created. In this case, you can create a new element directly from the library block properties: you can draw target lines, pipes, and nodes, among others.
To create a new element from the properties
- Click in the property field where you want to specify the markup element.
- In the property edit menu that appears, select Create new. You will automatically switch to the drawing mode.
- Draw the element on the canvas. When you are finished drawing, the name of the element appears in the property field.
- To cancel creating a new element, press Esc on your keyboard or click
 next to the property once again.
You can create a new agent type in the same way, if necessary.
To create a new agent type from the properties
- Click in the property field. In the property edit menu that appears, select Create new agent type.
- In the menu that appears, specify the name, animation, and parameters (if necessary).
- Click the Create agent button to complete the process.
- To cancel creating a new element, click
 in the agent creation menu.
For quick navigation to the element from the properties, you can click next to the property. The graphical editor will center on the referenced element so you can select it.
The properties of elements and blocks can be quite extensive, especially actions, which are extension points where you can customize the behavior of a model element by writing your own code. To minimize clutter, we decided to let you choose which actions you want to see in the properties.
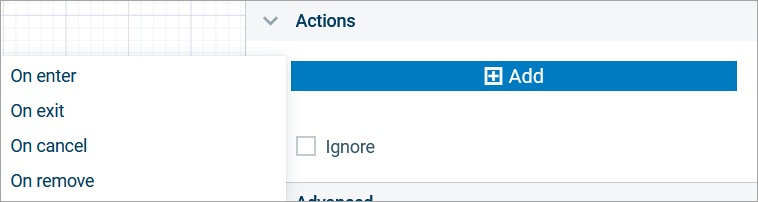
To add an action field
- In the Actions section of the Properties view, click Add action.
-
Select the action you need from the side menu.
-
Enter your code in the edit box of the action and continue developing your model.
When typing the code, press Ctrl + Space (macOS: Fn + Ctrl + Space) to use the code completion assistant.

To remove the empty action field that you no longer need, click ![]() next to the field.
next to the field.
-
How can we improve this article?
-